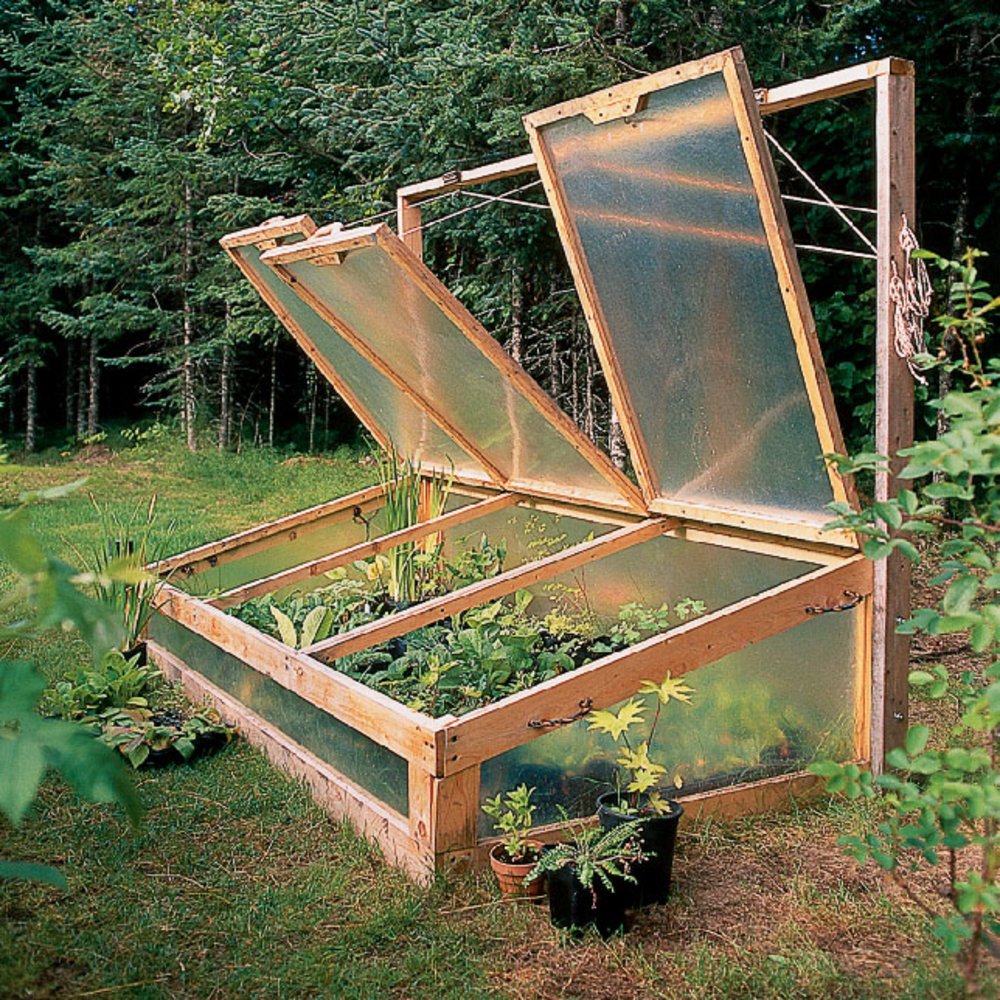
The Ultimate Cold Frame Building Guide
A cold frame is a simple, yet invaluable tool for gardeners seeking to extend their growing season and nurture delicate seedlings. This structure provides a controlled environment that shelters plants from harsh weather conditions while allowing them to bask in the warmth of the sun. Building a cold frame is a rewarding endeavor, enabling you to create a customized haven for your plants, tailored to your garden’s specific needs. This comprehensive guide will walk you through the process of constructing a cold frame, equipping you with the knowledge and skills to build your own sanctuary for plant growth.
Understanding Cold Frames
Before diving into the construction process, it’s crucial to understand the fundamental principles behind cold frames. Essentially, they function as mini greenhouses, trapping solar heat within their enclosed space. This trapped heat warms the soil and air, creating a microclimate that allows plants to thrive in conditions that would otherwise be unfavorable. The design of a cold frame facilitates this process by maximizing solar energy absorption and minimizing heat loss.
Benefits of Using a Cold Frame
Utilizing a cold frame offers numerous benefits for gardeners:
- Extended Growing Season: Cold frames allow you to start seeds earlier in the spring and extend your harvest into the fall.
- Protection from Frost: The enclosed environment shields plants from frost damage, safeguarding your valuable seedlings.
- Controlled Environment: Cold frames provide a semi-controlled environment, enabling you to regulate factors like temperature, moisture, and light exposure.
- Seedling Hardening Off: Gradual exposure to outdoor conditions within a cold frame helps seedlings acclimate before transplanting them into the garden.
- Cost-Effectiveness: Cold frames are relatively inexpensive to build and maintain, offering a budget-friendly solution for extending your garden.
Choosing the Right Cold Frame Design
The ideal cold frame design depends on your specific needs and the available space in your garden. Popular options include:
Lean-To Cold Frame
This design features a sloping roof that leans against an existing wall or fence. It is simple to construct and maximizes space efficiency.
Freestanding Cold Frame
A freestanding cold frame is independent and can be positioned anywhere in your garden. These frames offer flexibility and can be easily relocated.
Raised Cold Frame
Raised cold frames are elevated from the ground, offering improved drainage and accessibility. This design is particularly beneficial in areas with poor soil drainage.
Materials and Tools
To construct a cold frame, you’ll need the following materials and tools:
Materials
- Frame: Wood, PVC pipe, metal, or recycled materials like pallets or window frames
- Glazing: Glass, polycarbonate sheets, or acrylic panels
- Fasteners: Screws, nails, or bolts
- Weatherstripping: For sealing gaps and preventing drafts
- Soil: Potting soil, compost, or a mixture of both
Tools
- Saw: Circular saw, hand saw, or jigsaw
- Drill: With appropriate drill bits
- Screwdriver: Phillips and flathead
- Measuring tape and level: For accurate measurements and leveling
- Safety glasses and gloves: For protection while working
Construction Steps
Building a cold frame involves a series of steps, ensuring a sturdy and functional structure:
Step 1: Planning and Design
Begin by deciding on the dimensions, shape, and placement of your cold frame. Consider the available space, the types of plants you intend to grow, and the amount of sunlight your garden receives.
Step 2: Constructing the Frame
Cut and assemble the frame according to your chosen design. Ensure that the frame is square and level for stability. Use appropriate fasteners to secure the frame pieces.
Step 3: Glazing the Frame
Cut and attach the glazing material to the frame. Leave a small gap between the glazing and the frame to allow for ventilation. Use weatherstripping to seal any gaps and prevent drafts.
Step 4: Preparing the Soil
Fill the cold frame with a suitable potting mix or compost. Ensure that the soil is well-drained to prevent waterlogging.
Step 5: Planting and Maintenance
Once the cold frame is assembled, you can start planting your seeds or seedlings. Provide adequate watering and monitor the temperature and moisture levels inside the frame.
Tips for Success
Here are some additional tips to optimize your cold frame usage:
- Choose the Right Location: Place your cold frame in a sunny spot with good drainage.
- Ventilate Regularly: Open the vents or lids on your cold frame to regulate temperature and prevent condensation buildup.
- Monitor Temperature: Use a thermometer to keep track of the temperature inside the cold frame, adjusting ventilation as needed.
- Water Consistently: Keep the soil moist, but not soggy, as excessive watering can lead to root rot.
- Protect from Pests and Diseases: Regularly inspect your plants for signs of pests or diseases and take appropriate measures to control them.
Conclusion
Building a cold frame is an enriching experience that empowers gardeners to extend their growing season and nurture their plants in a controlled environment. By following this guide, you can confidently construct a sturdy and functional cold frame, providing your plants with the ideal conditions for growth and success. Enjoy the benefits of an extended harvest, the joy of nurturing delicate seedlings, and the satisfaction of creating a personalized haven for your plants.


No comments:
Post a Comment