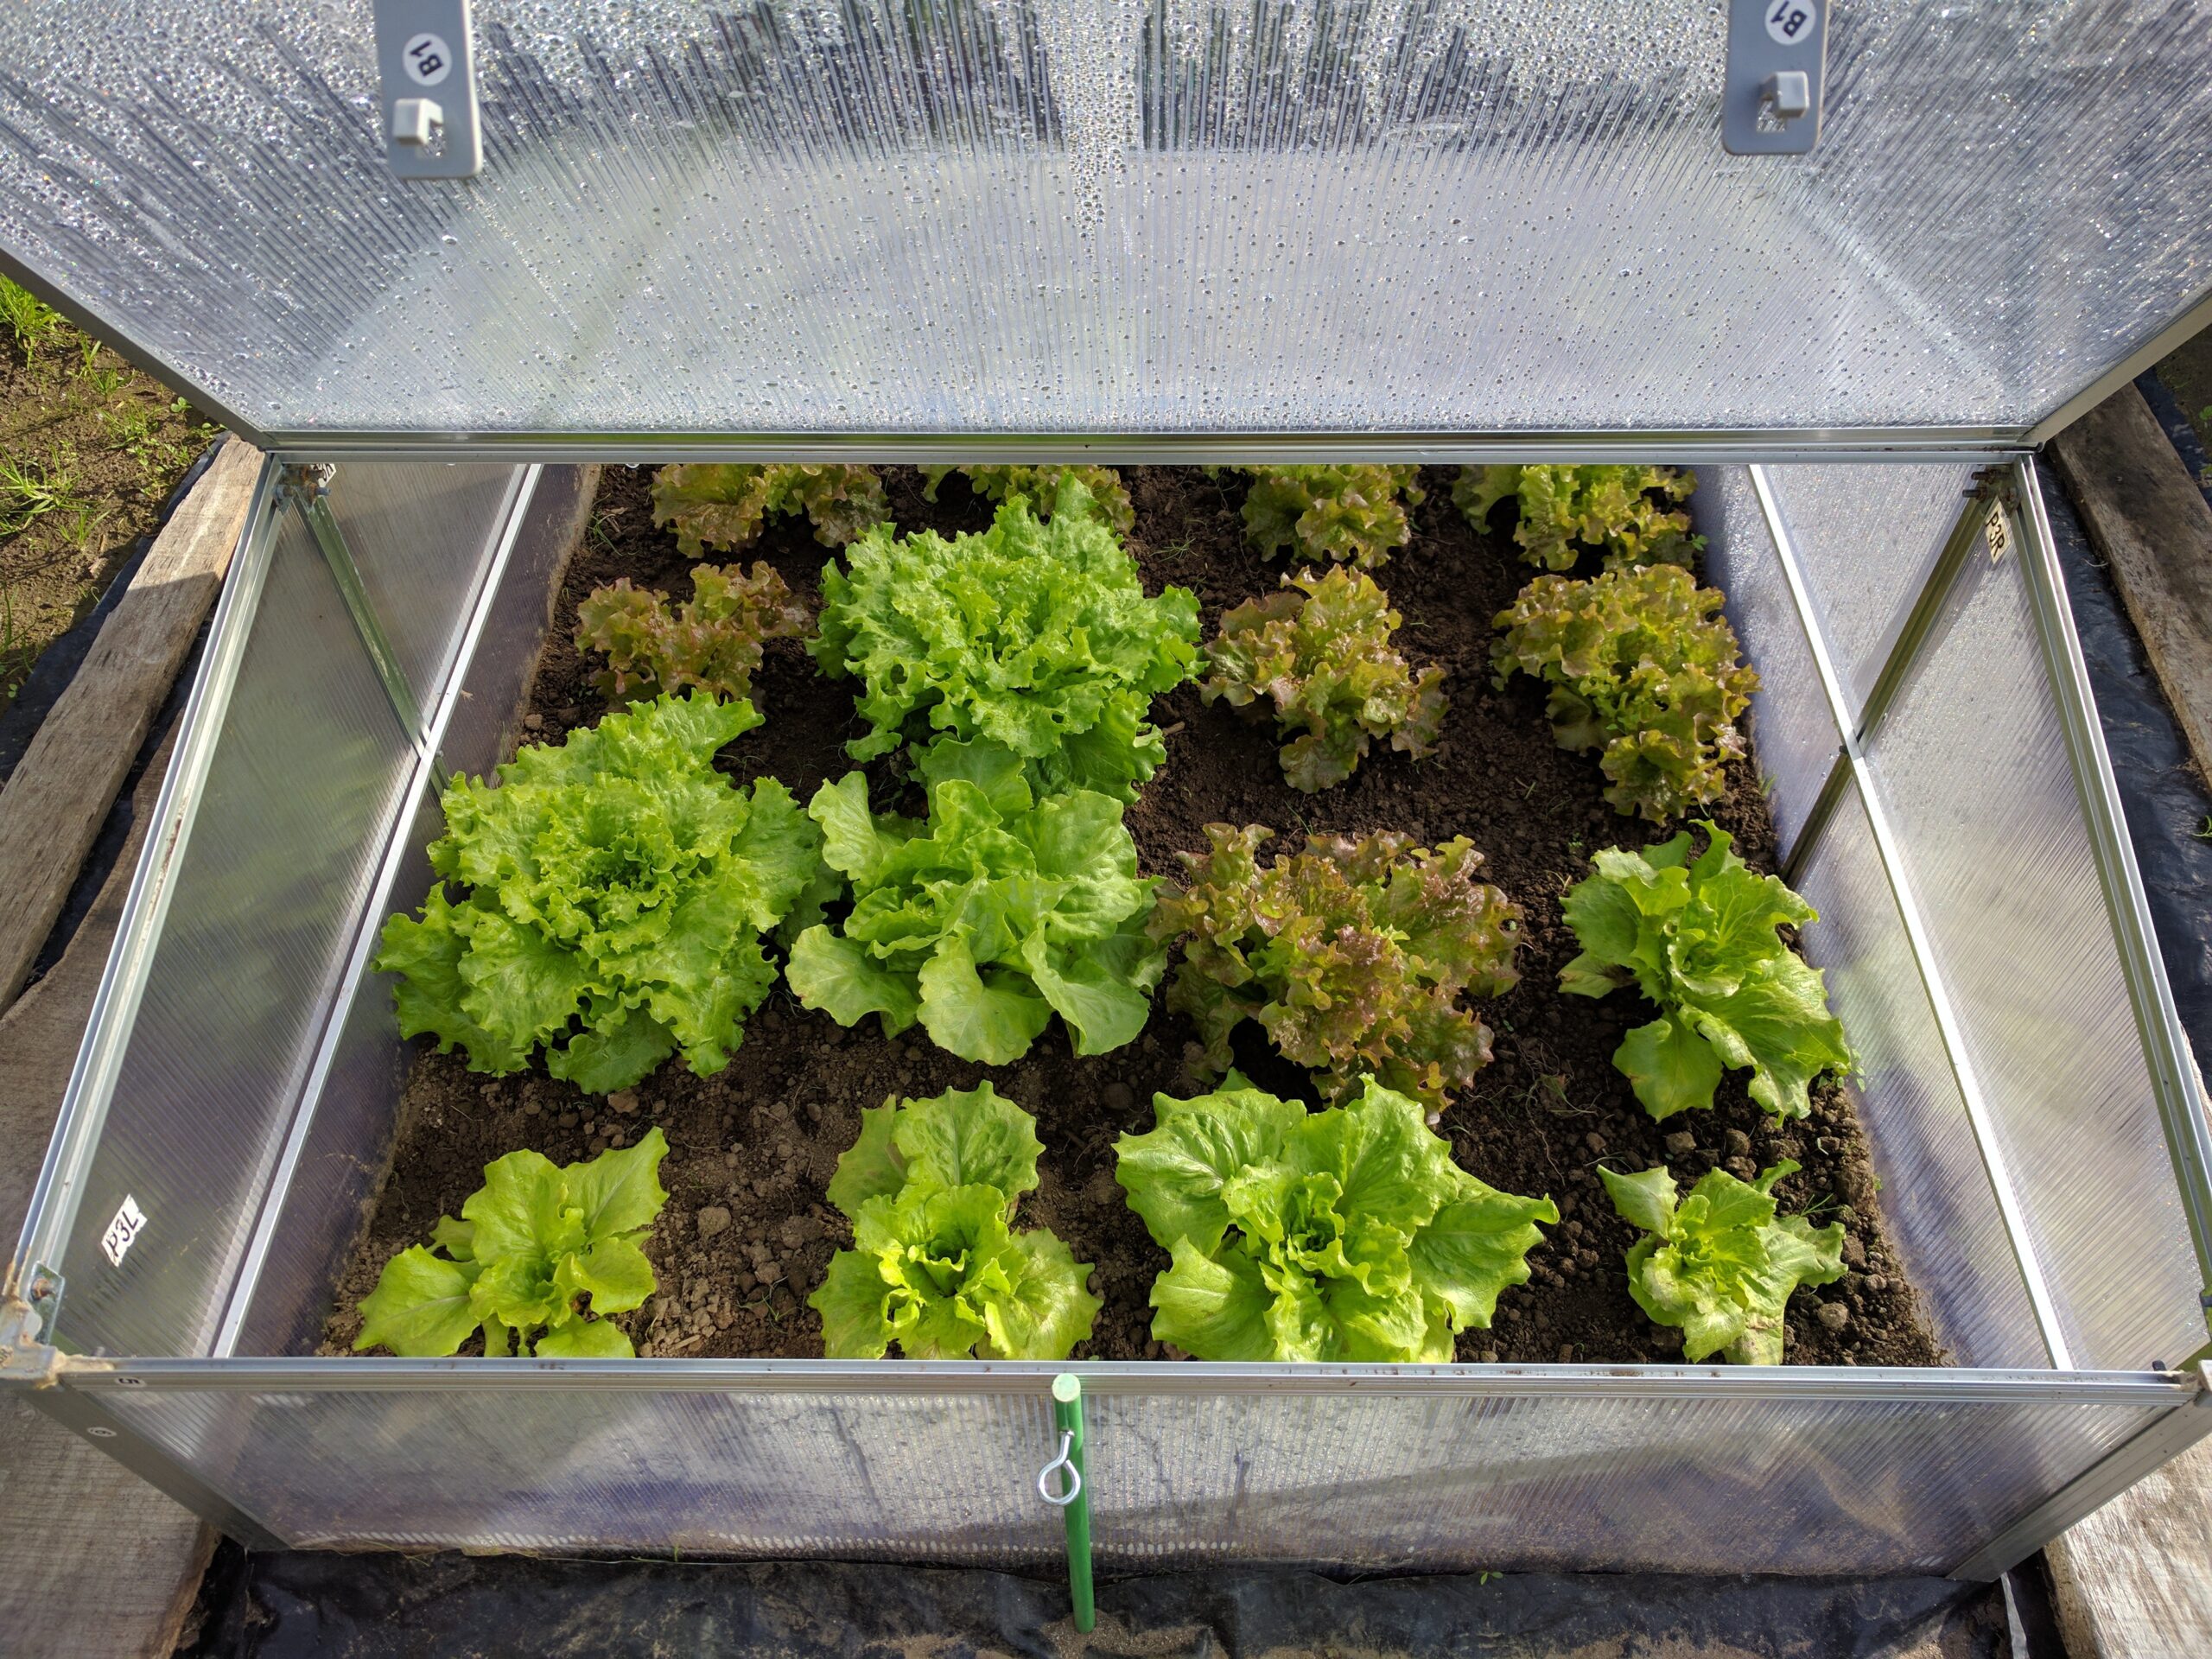
Build Your Own Cold Frame: A Step-by-Step Guide
A cold frame is a simple, yet versatile structure that can extend your gardening season and provide a head start for your plants. It's essentially a mini greenhouse, trapping solar heat to create a warmer microclimate for seedlings, cuttings, and even overwintering plants. Building your own cold frame offers the advantage of customization, allowing you to tailor it to your needs and garden space. This guide will walk you through the process, step-by-step.
Step 1: Planning and Design
Before you start building, it's crucial to plan your cold frame. This involves considering factors such as:
Size and Placement
The size of your cold frame depends on the number of plants you intend to grow. A smaller frame, measuring about 3x4 feet, is suitable for a few dozen seedlings. Larger frames, up to 6x8 feet, can accommodate a greater variety of plants. Choose a location that receives ample sunlight, ideally facing south for maximum heat absorption. The location should also have good drainage to prevent waterlogging.
Materials
Various materials can be used for constructing a cold frame. Popular options include:
- Wood: This is a traditional and readily available material. It can be used for both the frame and the cover.
- Metal: Aluminum or galvanized steel offers durability and resistance to weather. It can be used for the frame, and metal sheets can be used for the cover.
- Plastic: Lightweight and inexpensive, plastic can be used for the cover and, in some cases, the frame.
- Recycled Materials: Creative gardeners often use salvaged materials such as old windows, pallets, or bricks to build their cold frames.
Design Options
There are several cold frame designs, each with its own advantages:
- Traditional Cold Frame: Consists of a wooden frame with a hinged lid that allows for ventilation. The lid is typically made of glass, polycarbonate sheets, or acrylic.
- Raised Cold Frame: Elevated on a platform made of bricks, cinder blocks, or even recycled pallets. This design allows for better drainage and access.
- Lean-To Cold Frame: Leans against a wall or fence, utilizing the existing structure for support.
Step 2: Gathering Materials
Once you've decided on the size, materials, and design, gather the necessary supplies. For a traditional wooden cold frame, you'll need:
- Wooden planks (2x4s or 2x6s)
- Wood screws or nails
- Screwdriver or hammer
- Measuring tape
- Level
- Saw (circular saw or hand saw)
- Safety glasses
- Covering material (glass, polycarbonate, or acrylic)
- Hinges
- Clamps or fasteners for securing the cover
- Soil (potting mix or garden soil)
Step 3: Building the Frame
Follow these steps to construct the frame:
Cutting the Wood
Use a saw to cut the wooden planks to the desired dimensions. Be sure to measure carefully and make precise cuts for a sturdy and well-fitting frame.
Assembling the Frame
Start by building the base of the cold frame. Join the planks together using screws or nails, ensuring the corners are square and secure. Attach the sides to the base, making sure they are upright and level. You may need to use brackets or braces for additional support.
Adding the Lid
Construct the lid using the same methods as the base. Cut the wood to size, assemble the frame, and attach hinges to the lid for easy opening and closing.
Step 4: Attaching the Cover
Once the frame is built, secure the cover material. For glass panes, use glazing points and putty to secure them in place. Polycarbonate sheets or acrylic panels can be attached using screws or clamps.
Step 5: Setting up the Cold Frame
Position the cold frame in its designated location and ensure it is level. Add soil to the interior, and you're ready to start using your new cold frame.
Step 6: Using Your Cold Frame
A cold frame can be used for various purposes throughout the year:
Starting Seeds
The controlled environment of a cold frame allows you to start seeds earlier in the season than you could outdoors. Sow seeds directly into seed trays or pots placed inside the cold frame. The trapped heat will help seedlings germinate faster and grow strong.
Hardening Off Seedlings
Once seedlings have developed true leaves, they need to be gradually acclimated to outdoor conditions. A cold frame can be used for this process, gradually exposing seedlings to more sunlight and cooler temperatures over several days.
Growing Cuttings
A cold frame provides a protected environment for rooting cuttings. Place the cuttings in a pot or tray filled with rooting medium and cover them with a plastic dome or sheet to maintain humidity.
Overwintering Plants
In colder climates, tender plants can be overwintered in a cold frame. Move your plants into the frame during the fall and provide them with adequate protection against frost. The cold frame will help keep them alive until spring when they can be replanted outdoors.
Step 7: Maintenance
Regular maintenance is essential for keeping your cold frame in good condition:
- Ventilation: Open the lid on sunny days to allow for air circulation and prevent overheating.
- Watering: Keep the soil moist, but avoid overwatering.
- Cleaning: Regularly remove any debris or leaves that accumulate inside the frame.
- Winterization: If you plan to use the cold frame overwinter, ensure the cover material is in good condition and properly secured.
Conclusion
Building your own cold frame is a rewarding experience that can significantly extend your gardening season. With a little planning and effort, you can create a valuable asset for your garden, allowing you to start seeds earlier, protect plants during the colder months, and enjoy a bountiful harvest year-round.


No comments:
Post a Comment